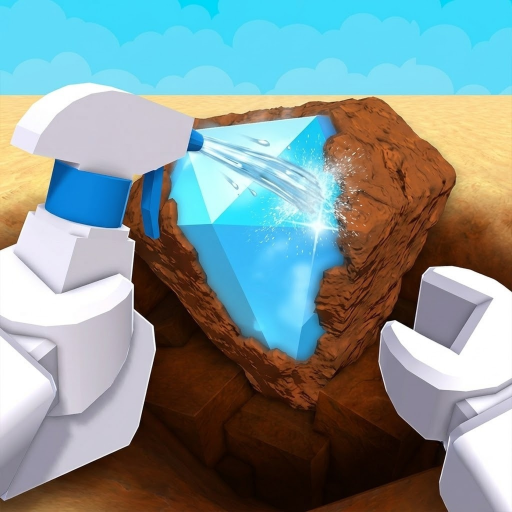
How to Finish Dig & Clean Fast
Progression route for Dig & Clean: upgrade order, rarity targeting, museum cash, and second-map unlock—legal speed, not scripts.
For system definitions, see museum & game loop. Script searches go to the script status page.
Finishing Dig & Clean fast means turning every dig into cash and gear efficiently. The loop is stable: detect a spot, dig it out, clean it, place or sell, reinvest. Speed comes from upgrade order and target selection, not from exploit scripts.
Multi-source beginner and finish guides agree on three tools—detector, shovel, and spray bottle—plus a pirate-unlocked second map for late progression.
Upgrade order
| Priority | Tool | Why it speeds finishes |
|---|---|---|
| 1 | Shovel | Dig meter clears faster; high-rarity spots become diggable |
| 2 | Detector | Finds better glow spots; less time on weak clutter |
| 3 | Spray bottle / cleaner | Reveal and sell/place without a dirty backlog |
If cleaning falls behind digs, temporarily favor spray even if the “default” order says otherwise. Bottleneck beats theory—see shovel vs spray.
Fast session loop
- 1. Detect. Sweep the dig area; note glow colors for rarity.
- 2. Prioritize. Hit higher-rarity spots your shovel can actually clear.
- 3. Dig. Complete the dig minigame with the shovel (normal play, not a script).
- 4. Clean. Use spray at the cleaning station to reveal type and value.
- 5. Place or sell. Museum keepers for income; sell surplus for cash.
- 6. Upgrade. Spend into the current bottleneck tool, then repeat.
Early museum rule
Early on, filling museum slots builds tourist cash. After slots are full, compare generation value and replace weak pieces; sell extras at the sell station near the gear shop.
Second map push
When cash is high enough, talk to the pirate NPC at the far end of the dig area to unlock the second map (community name: Shipwreck Cove). Community finish guides report a large one-time travel cost and stronger gear on the new island—verify the live price in-game before you bank for it.
| Step | Action |
|---|---|
| 1 | Max practical gear on the starter map using shovel → detector → spray order |
| 2 | Bank cash for pirate travel (confirm cost in-game) |
| 3 | Unlock the second map |
| 4 | Repeat the same upgrade order with the new shop line |
Slow mistakes
- Buying spray first while digs are still the bottleneck
- Clearing every common glow instead of higher-value spots
- Never cleaning—museum and sell both need reveal
- Ignoring museum income and only selling
- Chasing exploit scripts instead of gear order
See also
FAQ
How do you finish Dig & Clean fast?
Run the dig → clean → museum cash loop, upgrade shovel then detector then spray on each map, prioritize higher-rarity dig spots, and unlock the second map when you can afford the pirate travel cost.
What should I upgrade first?
Community finish guides prioritize shovel first (dig bottleneck), then detector (find quality), then spray / cleaning gear. Re-check the bottleneck if dirty finds pile up.
Do I need a script to finish faster?
No. Script automation is not required and is not provided here. Use gear order, rarity targeting, and map unlocks.
What is the second map?
A pirate NPC travel unlock—commonly called Shipwreck Cove in community guides—with stronger gear and higher profit potential.
Next in this topic
Closest definitions and guides for this page—not a full site map.